You bought that gorgeous lipstick—only to watch it bleed into fine lines by lunchtime. Frustrating? Absolutely. And you’re not alone. Most beginners grab a lip liner like it’s an afterthought, then wonder why their lips look smudged or overdrawn. The truth? A lip liner tutorial for beginners isn’t just about tracing—it’s about control, precision, and longevity.
Why Most Beginners Fail at Lip Liner (And How to Avoid It)
Here’s the reality: 90% of new makeup users treat lip liner like eyeliner—sharp, harsh, and rigid. But lips aren’t eyes. They move, shift, and dry out. Applying too much pressure or using a shade that doesn’t match your natural lip line creates that dreaded “clown mouth” effect. Think about it—your Cupid’s bow isn’t symmetrical, yet most tutorials pretend it is.
And if you’re sharpening your pencil every single use without warming it first? You’re breaking the core pigment structure. That leads to patchiness—not definition.
lip liner tutorial for beginners: Your Step-by-Step Blueprint
Forget vague advice. This is what actually works in real-world lighting, humidity, and movement.
Prep Like a Pro (Not a Passenger)
Exfoliate gently with a soft toothbrush or sugar scrub. Hydrated lips absorb color evenly. Then blot—don’t skip this. Oily residue = liner slide.
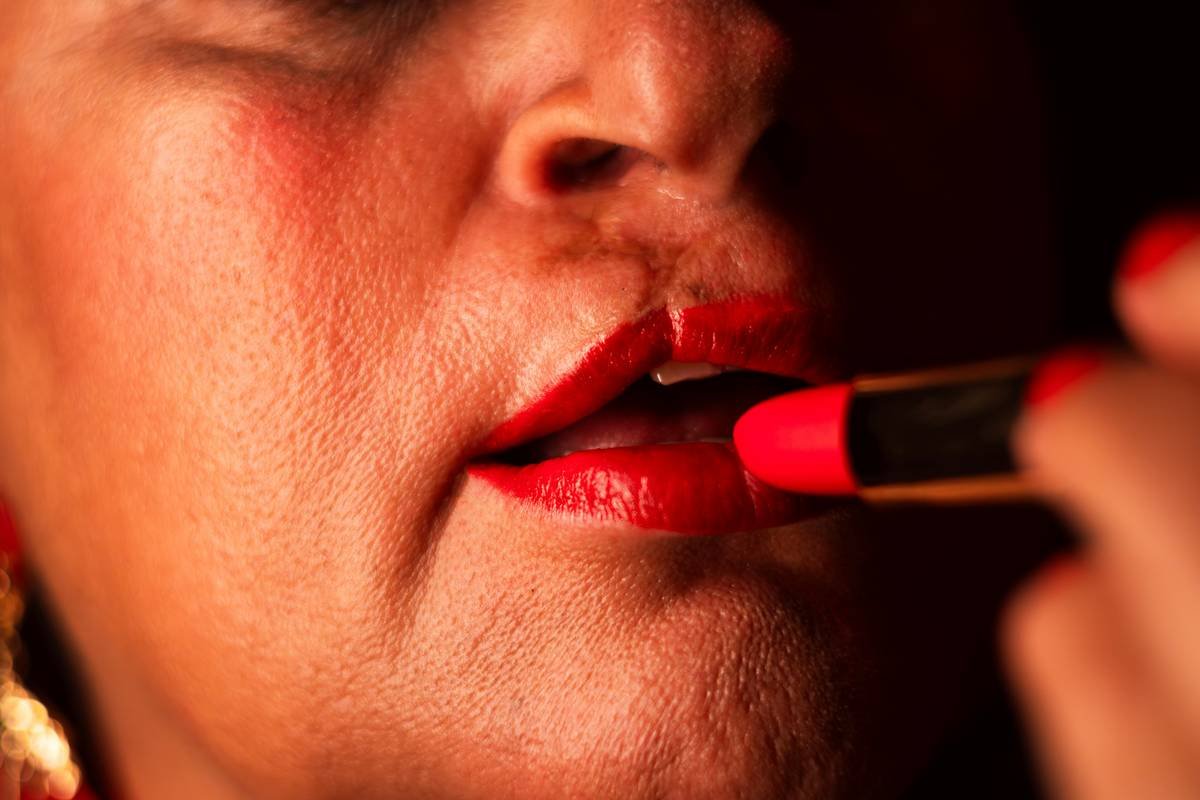
Choose the Right Shade (It’s Not Just “Nude”)
Your perfect match lives *within* your natural lip perimeter—not outside it. Hold swatches against your inner lower lip in natural light. If it disappears? That’s your winner. Too pink? Too brown? You’ll look artificial.
Sharpen Smartly—Then Warm It
Sharpen just enough to expose fresh pigment. Now, rub the tip lightly on the back of your hand for 2 seconds. This softens the wax, letting it glide without tugging.
Map, Don’t Trace
Start at the center of your upper lip. Lightly dot along your natural contour—don’t connect the dots yet. Same on the bottom. Then, using feathery strokes, join them. No hard lines. Ever.
| Technique | Beginner-Friendly? | Longevity Boost | Risk of Mistake |
|---|---|---|---|
| Overlining Entire Lip | No | Low (causes feathering) | High |
| Natural Contour Mapping | Yes | High (locks lipstick in place) | Low |
| Blending with Finger | Moderate | Medium (softens but reduces hold) | Medium |
Lock It In
After lining, fill in your entire lip with the liner before applying lipstick. This doubles as a primer—and prevents patchiness when your gloss wears off. The math is simple: more pigment base = longer wear.
The Industry Secret: Liners Are Multitaskers (Use Them Like One)
Most brands won’t tell you this: a high-pigment lip liner can double as blush or eyeshadow stick in a pinch. But more importantly—apply your liner *after* foundation but *before* concealer around the mouth. Why? Concealer sets the outer edge, creating a clean canvas that stops migration. Salon artists have used this trick for years to make lip color last through meals, kisses, and Zoom calls.
And here’s a contrarian take: matte liquid lipsticks don’t always need liner. But creamy or glossy formulas? Non-negotiable. The oil in those formulas seeks escape routes—your liner builds the dam.
Frequently Asked Questions
Should I line my entire lip or just the edges?
Line and lightly fill the whole lip. This creates grip for lipstick and prevents uneven fading.
What if my lip liner is slightly darker than my lips?
Blend inward with a finger or brush. A touch deeper adds dimension—but only if softened.
Can I use lip liner without lipstick?
Absolutely. A well-matched liner worn solo gives subtle definition and hydration if it contains oils or waxes.