Smudged lines. Patchy color. That “drawn-on” mask effect. You spent twenty minutes perfecting your lip liner—only to end up looking like you’re wearing someone else’s mouth. And if you’re using outdated techniques, no amount of product will save you. Here’s the fix: precision meets skin, not pigment dominance.
Why Most People Get Lip Liner Wrong
They treat it like eyeliner—sharp, rigid, unforgiving.
But lips aren’t eyes. They move. Breathe. Fade unevenly.
Using a hard pencil with zero blend? You’re outlining a mannequin, not enhancing living tissue.
Worse: overlining beyond your natural Cupid’s bow by more than 1–2mm screams costume—not confidence. The goal isn’t enlargement. It’s definition that disappears into realism.
How to Apply Lip Liner: A Step-by-Step Breakdown
Forget “trace and fill.” Real mastery starts with prep—and ends with texture harmony.
Prep Your Canvas (Yes, Lips Need It)
Exfoliate gently with a damp washcloth—no gritty scrubs. Then tap on a light balm. Wait two minutes. Blot. Dry lips grab pigment unevenly; slick ones repel it. You need balance.
Choose the Right Shade (Not What You Think)
Your liner shouldn’t match your lipstick exactly. Go one shade deeper—or warmer—if you want dimension. Neutral-toned liners (think dusty rose for fair skin, terracotta for deep tones) anchor color without competing.
Sharpen, But Don’t Overdo It
A needle-sharp point digs into fine lines. Slightly blunt? Better control. Warm the tip on your hand for 3 seconds—softens wax for smoother glide.
Start at the Center, Not the Corners
Anchor your line from the middle of the upper lip outward. Why? Your Cupid’s bow is your natural highlight—it’s where light hits. Building from there mimics how shadow naturally falls.
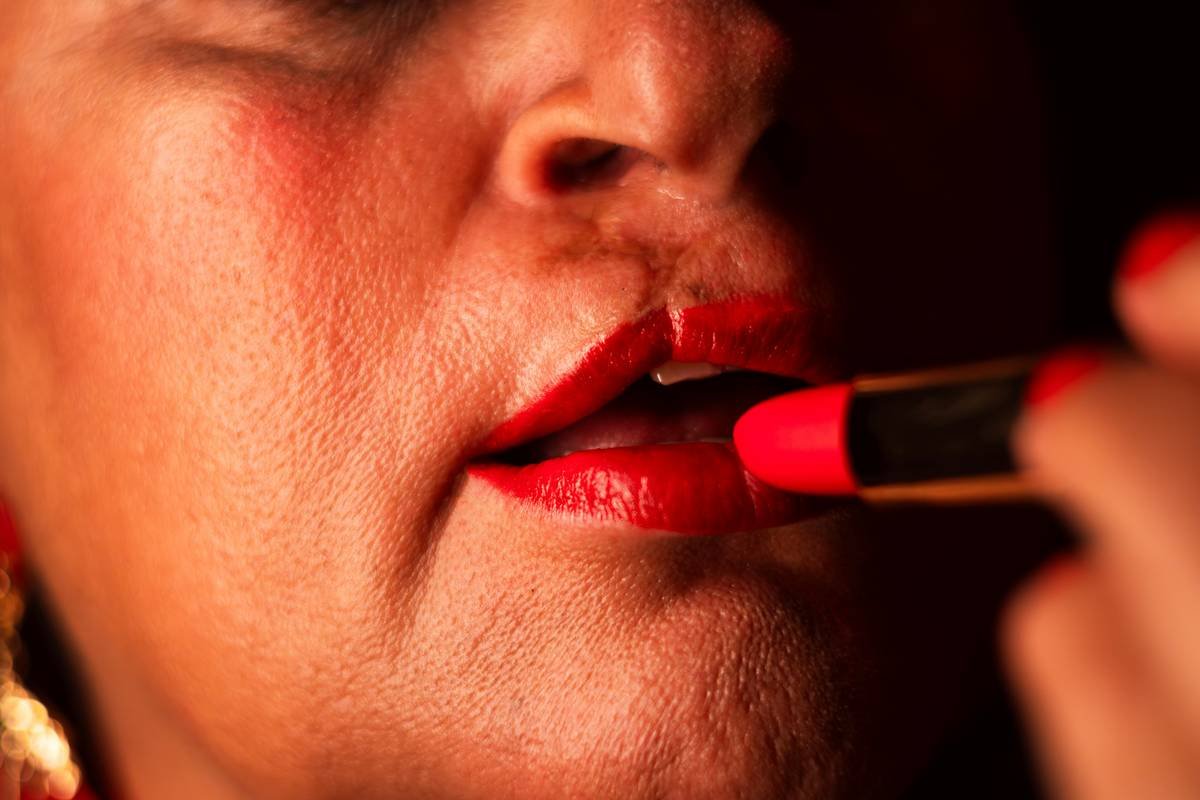
Blend Before You Layer
Use a clean fingertip or a tiny brush to soften the edge inward—not outward. This creates a gradient base so your lipstick melts into skin, not sits on top.
| Technique | Tool Needed | Best For | Risk of Mistake |
|---|---|---|---|
| Classic Outline + Fill | Pencil only | Matte liquid lipsticks | High—can look chalky |
| Gradient Base Method | Pencil + fingertip/brush | Creamy bullets, daily wear | Low—forgiving and natural |
| Reverse Overline | Barely tinted liner | Thin lips needing subtle lift | Medium—easy to overdo |
The Industry Secret No Brand Will Tell You
Top makeup artists rarely use lip liner alone.
Here’s the real hack: mix your liner with a drop of facial oil on the back of your hand. Dip a flat brush into that slurry and stamp it along the lip edge. It sets like stain—but moves like skin.
Why does this work? Oil breaks down waxes in pencils, turning stiff pigment into a breathable film. It lasts longer because it bonds with your natural oils—not fights them.
And yes, it works even with drugstore liners. Try it once. You won’t go back.
FAQ
Should lip liner go outside your natural lip line?
Only if you extend no more than 1–2mm beyond your vermillion border—and only on the upper lip’s center. Overlining the corners ages the face.
Can you wear lip liner alone?
Absolutely. Choose a creamy formula with sheen, not matte. Blend well. It doubles as a low-maintenance lip tint with built-in definition.
How do you stop lip liner from bleeding?
Apply a light dusting of translucent powder after lining—but before lipstick. It mattifies micro-grooves where pigment migrates.