Harsh, chalky lip liner edges ruin even the most expensive lipstick. You’ve traced your lips with precision—only to end up looking like you’re wearing a drawn-on mask. The fix? Mastering how to blend lip liner so it melts into your lipstick, not against it.
Why Your Lip Liner Still Looks Unnatural
Most tutorials tell you to “just blend” but skip the crucial mechanics. The core issue? Using the wrong tool, the wrong formula, or applying too much pressure. A matte pencil dragged across dry lips without strategic layering will always look stark—not sculpted.
And here’s the kicker: many high-end liners are formulated to stay put—great for longevity, terrible for soft blending. If your liner refuses to smudge, it’s not you—it’s the wax-to-pigment ratio working against you.
How to Blend Lip Liner: A Foolproof Step-by-Step Method
Forget vague advice. Follow this sequence with deliberate intent.
Select the Right Formula First
Creamy pencils with a slight emollient base (think shea butter or jojoba oil) blend better than ultra-matte, balm-free formulas. Test by swiping on your hand—if it glides without tugging, you’re golden.
Prep Your Canvas
Exfoliate lightly and apply a sheer balm 5 minutes before lining. Blot excess. Hydrated lips = seamless diffusion. Skipping this? You’re fighting friction instead of working with your skin.
Apply With Intention—Not Perfection
Outline just outside your natural lip line only where needed—usually center bottom and Cupid’s bow. Overlining everywhere creates a clownish effect. Keep the sides tight to your actual border for realism.
Blend Immediately—Before It Sets
Use your ring finger (it applies least pressure) or a pointed lip brush dampened with a drop of micellar water or setting spray. Swipe inward toward the lip center in tiny motions. One pass is often enough.
Lock It In With Lipstick
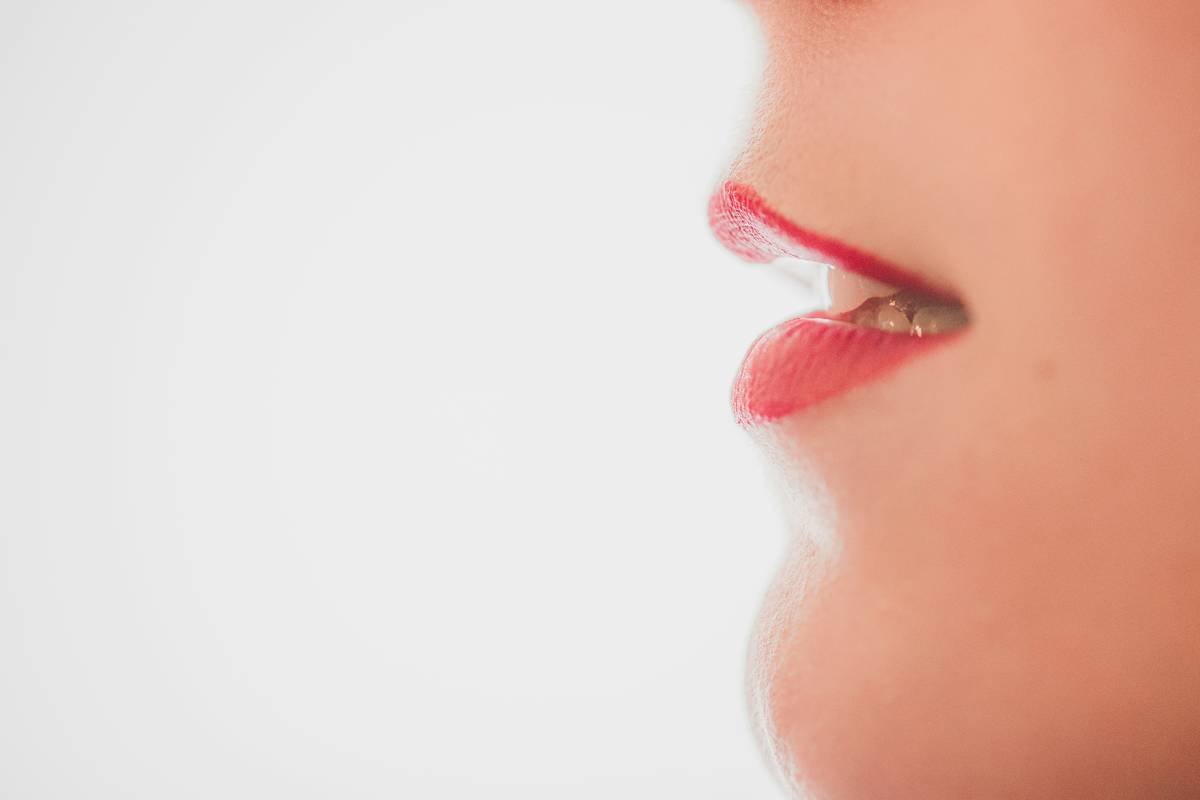
Apply your lipstick directly over the blended liner using the same shade or one slightly deeper. The pigment melds the two layers into one cohesive unit. Matte liquid? Dab, don’t drag.
| Blending Tool | Best For | Blending Time Window | Risk of Smudging |
|---|---|---|---|
| Fingertip (clean, dry) | Creamy pencils, balmy finishes | 30–45 seconds | Low |
| Lip brush + setting spray | Matte or long-wear liners | 15–25 seconds | Medium (requires control) |
| Sponge tip applicator | Beginners, precise edges | 20–30 seconds | Very low |
The Industry Secret No Brand Will Admit
Professional makeup artists rarely use lip liner alone to define shape. Instead, they **reverse-blend**: they apply lipstick first, then trace the outer edge *lightly* with a matching liner and immediately blur it inward. This creates dimension without rigidity.
Think about it—your natural lip line isn’t a hard contour. It fades softly into your skin. Mimicking that gradient is what sells the illusion. And here’s the reality: the most convincing “fuller lip” effect comes from shadow and light, not just overlining. A touch of slightly darker liner at the corners, blended upward? That’s 3D contouring in disguise.
FAQ: Quick Answers to Real Questions
Can you blend lip liner after applying lipstick?
Yes—but only if you use a clear liner or match perfectly. Apply liner over set lipstick, then gently smudge the edge with a brush. Risky with transfer-proof formulas though.
Why does my lip liner bleed even when blended?
Bleeding happens in fine lines around the mouth, not from blending. Use a primer or concealer sealant around lips before lining. Blending doesn’t cause feathering—poor prep does.
Should lip liner be lighter or darker to blend well?
Slightly darker than your natural lip—never lighter. A lighter liner creates a reverse halo that looks unnatural under bright light. Match your deepest lip tone for believable depth.