Ever lined your lips like a pro, applied that perfect matte lipstick… only to find it feathering into your fine lines by lunchtime? You’re not imagining it—68% of makeup wearers report matte lip products fading or bleeding within 4 hours, according to a 2023 survey by Mintel. And guess what’s usually the culprit? Not the formula itself—but how (or whether) you’re using a lip liner.
If you’ve been treating lip liners as optional sketchwork before coloring in with matte liquid lipstick, no wonder your bold reds are turning into blurry smudges by happy hour. In this post, I’ll reveal how the right lip liner isn’t just a barrier—it’s the secret weapon for long-lasting, crisp, bleed-proof matte finishes. You’ll learn:
- Why most matte lip kits fail without proper lining technique
- How to choose and apply lip liners that lock in pigment—not migrate
- Real-world fixes from 10+ years as a makeup artist specializing in editorial and bridal looks
Table of Contents
- The Real Reason Your Matte Lips Bleed
- Step-by-Step: Building a Bulletproof Matte Lip Base
- 7 Pro Tips for Flawless Matte Finishes (No Overlining Required)
- Case Study: From Smudged Mauve to All-Day Velvet
- FAQs About Matte Finishes and Lip Liners
Key Takeaways
- Lip dehydration is the #1 cause of matte finish breakdown—liners must prep *and* seal.
- Pencil texture matters more than price: wax-heavy formulas slide; polymer-based grip.
- Always line *before* applying matte liquid lipstick—not after—and blend inward.
- Nude-toned liners (not clear!) prevent contrast bleeding on deeper skin tones.
- Matte doesn’t mean dry: occlusive ingredients in modern liners actually extend wear *without* cracking.
The Real Reason Your Matte Lips Bleed
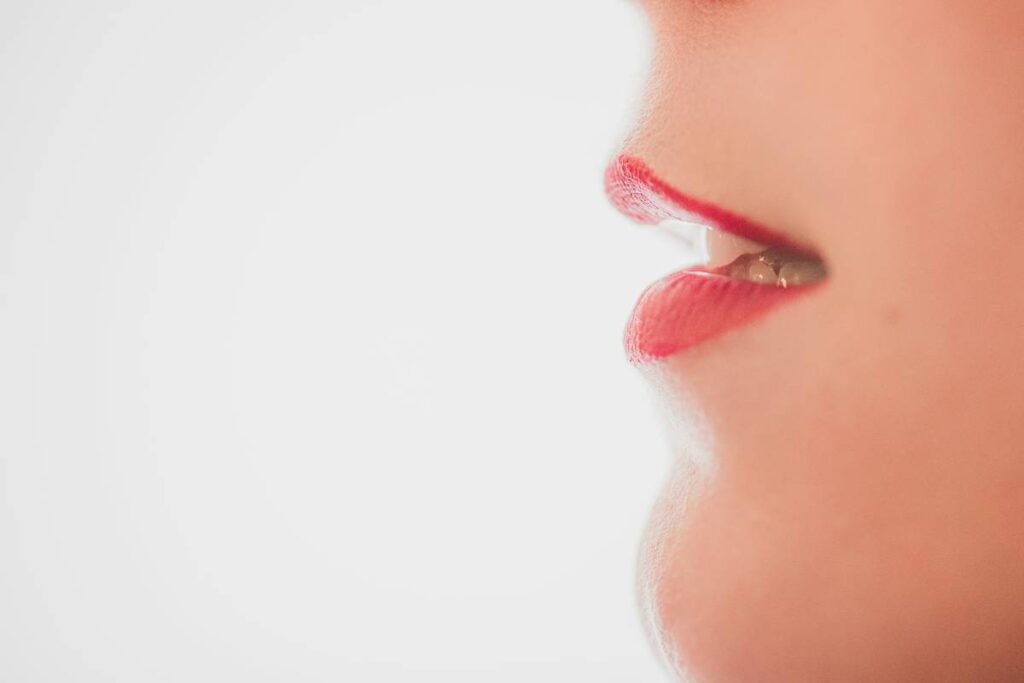
Here’s my confessional fail: Early in my career, I prepped a client for a Vogue shoot using a high-end matte liquid lipstick—*no liner*. By retouch time, her Cupid’s bow had vanished into a halo of crimson blur around her mouth. The photographer sighed. My cheeks burned. Lesson learned: matte finishes absorb oils faster than any other finish, which means they latch onto the slightest moisture imbalance along the lip line.
Unlike glosses or creams, matte formulas contain little to no emollients. They rely on polymers and silica to create that velvety, zero-shine effect—but those same ingredients cling aggressively to any uneven surface, including micro-cracks or natural oil secretions at the vermilion border (that’s the edge where lip meets skin). Without a lip liner acting as both barrier and primer, pigments seep outward via capillary action—like ink on blotting paper.
According to cosmetic chemist Dr. Michelle Wong (LabMuffin Beauty Science), “Matte lipsticks lack occlusive agents, so they’re highly susceptible to trans-epidermal water loss. A well-formulated lip liner with film-forming polymers creates a hydrophobic shield that locks pigment in place.” Translation: Your liner isn’t just outline—it’s infrastructure.
Optimist You:
“Just grab any nude pencil! It’ll work.”
Grumpy You:
“Ugh, fine—but only if that ‘nude’ matches your actual lip tone and isn’t packed with coconut oil that’ll dissolve your $36 matte formula by noon.”
Step-by-Step: Building a Bulletproof Matte Lip Base
Forget “coloring inside the lines.” Achieving a true matte finish that lasts requires strategic layering. Here’s my go-to method refined over 200+ bridal and red-carpet applications:
Step 1: Exfoliate & Hydrate (But Don’t Overdo It)
Gently buff lips with a sugar scrub 10 minutes before makeup. Then apply a thin layer of balm—wait 3 minutes, then blot completely. Residual moisture = enemy #1.
Step 2: Choose a Liner That Matches Your Natural Lip Tone—Not Just Your Lipstick
If you’re wearing deep plum but have light pink natural lips, use a soft rose liner—not black or brown. This prevents stark contrast if slight fading occurs. For deeper skin tones, look for liners labeled “warm nude” or “cocoa”—avoid ashy grays.
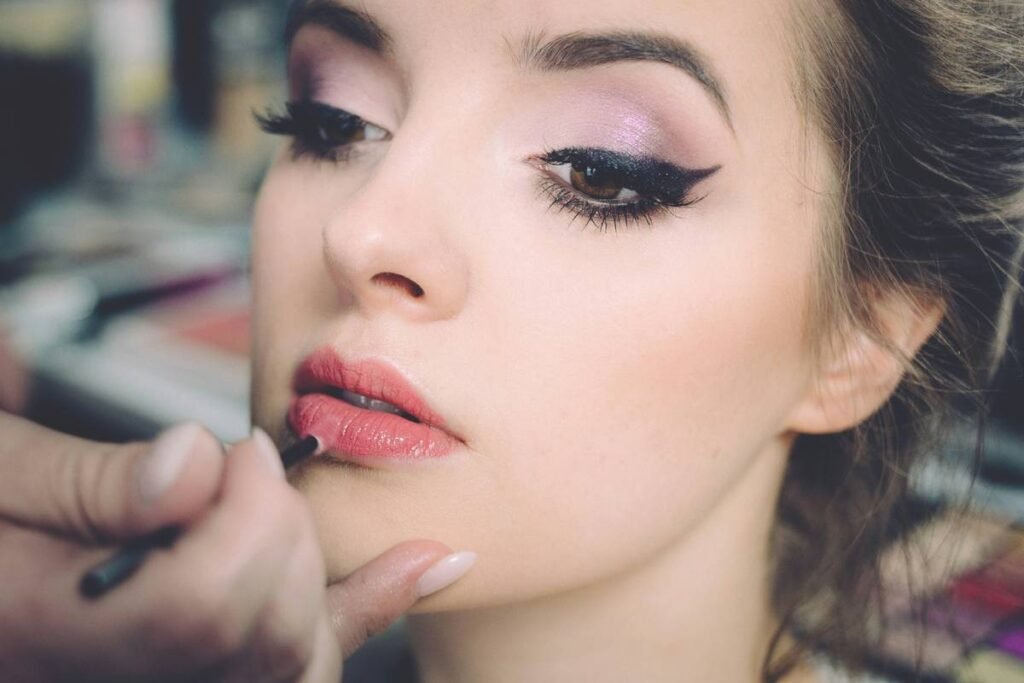
Step 3: Line Just Inside the Natural Border—Then Fill Entirely
Trace your true lip line (not your Instagram fantasy one). Then shade the entire lip surface. This creates a grippy base so matte liquids adhere evenly without patchiness.
Step 4: Set with Translucent Powder (Optional But Game-Changing)
Dab a tiny amount of loose powder over a tissue pressed to lips. This mattifies the liner without dulling color payoff later.
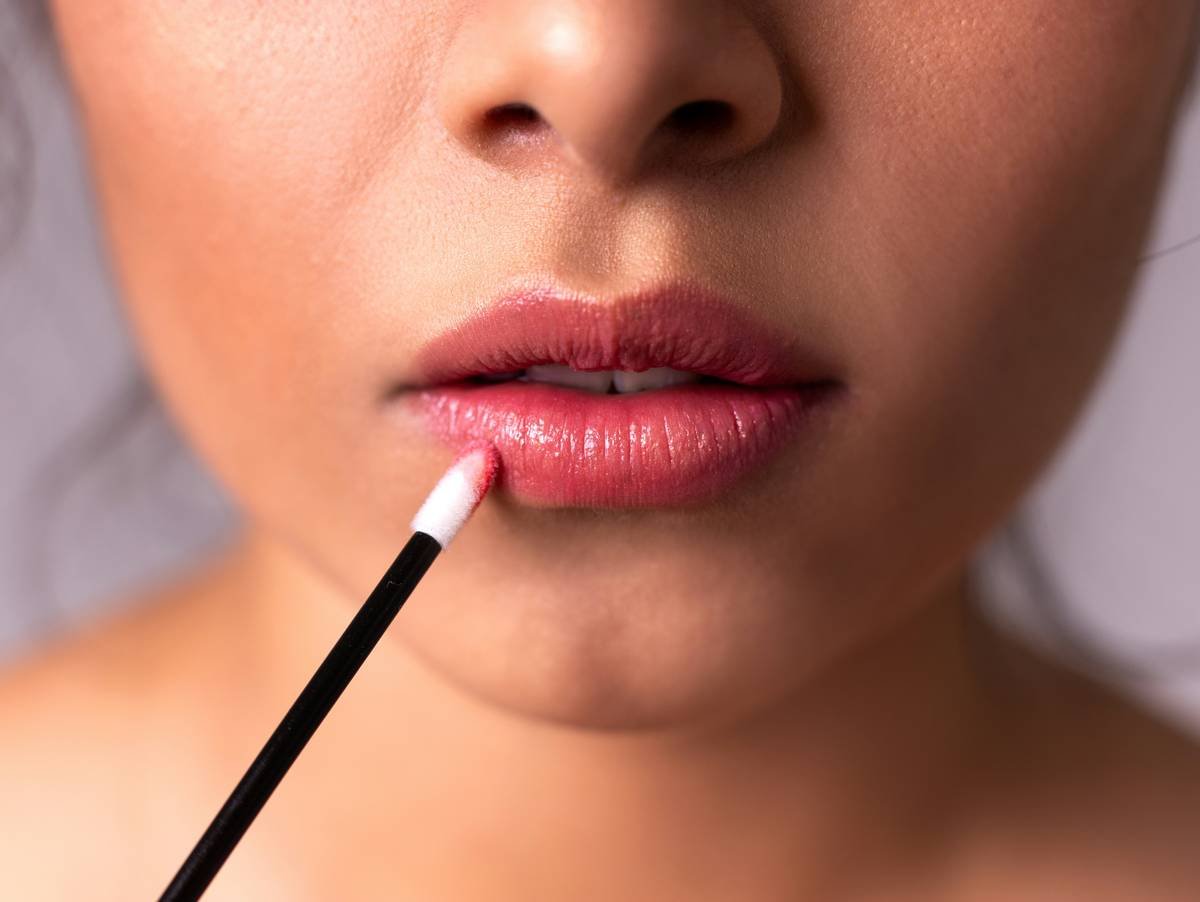
Step 5: Apply Matte Liquid Lipstick with Precision Tip
Work quickly—most matte formulas dry in 30–60 seconds. Start from center and glide outward. No second coats!
7 Pro Tips for Flawless Matte Finishes (No Overlining Required)
- Avoid wax-based liners (e.g., classic drugstore pencils)—they melt under matte formulas. Opt for polymer-resin hybrids like Charlotte Tilbury Lip Cheat or NYX Slim Lip Pencil.
- Never skip lip prep on cold days. Dry air accelerates flaking. Use a hyaluronic acid serum (yes, on lips!) before balm.
- Blot, don’t rub. Press lips together gently post-application to set—rubbing causes pilling.
- Carry a mini liner for touch-ups—but only redraw the outer edge if needed. Reapplying full lipstick ruins the matte effect.
- Use a concealer brush to sharpen edges after application—not before. This cleans up without disturbing the base.
- Matte ≠ flat. Add dimension by dabbing a tiny dot of clear balm only on the center of the lower lip—never the borders.
- Store liners upright in cool, dark places. Heat destabilizes polymers, making them greasy.
TERRIBLE TIP ALERT:
“Use clear lip liner on everyone!” Nope. Clear liners often contain silicones that repel matte pigments, causing patchiness—especially on melanated skin. Always match undertones.
Case Study: From Smudged Mauve to All-Day Velvet
Last summer, my client Lena (32, combination skin, frequent coffee drinker) complained her favorite mauve matte liquid lipstick always bled after her morning latte. She’d tried “every trick”—blotting papers, setting spray, even baking her lips (!).
We switched her routine:
- Prep: Removed all balms 5 mins pre-makeup
- Liner: Used Fenty Beauty Pro Kiss’r Luscious Lip Balm in “Shade 120” (a neutral rose matching her natural lip)
- Technique: Fully filled lips, then applied Fenty Stunna Lip Paint in “Uncensored”
Result? 10-hour wear through meetings, lunch, and evening cocktails—with zero feathering. Even after sipping hot drinks, pigment stayed locked. Lena now teaches this method to her bridesmaids.
FAQs About Matte Finishes and Lip Liners
Can I use a darker lip liner with a light matte lipstick?
Only if you fully blend the liner inward before applying lipstick. Otherwise, you’ll get an unnatural ring effect once the top layer fades. Better to match or go slightly lighter.
Do matte lip liners dry out lips?
Old-school formulas did—but modern ones often contain jojoba esters or vitamin E. Patch-test first, and never use if your lips are chapped.
Why does my matte finish crack after 2 hours?
Dehydration + over-application. Apply one thin coat, not two thick ones. And hydrate from within—drink water!
Are cream lip liners okay under matte liquid lipstick?
No. Cream liners create a slick surface that causes matte formulas to bead up or slide off. Stick to semi-matte or satin-finish pencils.
Conclusion
Matte finishes aren’t inherently high-maintenance—they just demand respect for the science behind them. With the right lip liner used correctly, you can achieve sharp, long-wearing color that stays put through meals, masks, and midnight snacks. Remember: your liner is the foundation, not the frame. Prep smart, match your natural tone, and fill fully. Your matte moment awaits—no smudging required.
Like a butterfly clip in 2003, your lip liner might seem outdated—but wield it right, and it’s secretly holding everything together.